Store launch
Launch a ShopingX store through one complete test order
Configure a store, real product, shipping rule, payment method, and domain around one purchase path with explicit buyer and merchant acceptance checks.
A finished homepage is not a finished store. A better launch definition is operational: a new mobile visitor can find a real product, understand its price and delivery terms, pay for it, and leave an order that the merchant can find and fulfil or refund.
This guide follows the current ShopingX Help Center and merchant-admin entry points. The first run uses one market, one language, one real product, and one payment method. Complete that line before adding more theme sections, campaigns, or markets.
Write the acceptance result before building
Create a short launch record with:
- first country or region, storefront language, and store currency;
- test product, SKU, stock, and packed weight;
- shipping template and one valid test address;
- primary payment method and whether it will use a sandbox or low-value live payment;
- test owner, issue log, and planned release time.
End with one statement that can pass or fail. For example: "A US mobile visitor can buy product A in English, checkout displays USD, and the order amount in ShopingX matches the payment provider." "The website looks ready" cannot be used as a release check.
Step 1: confirm the store identity after registration
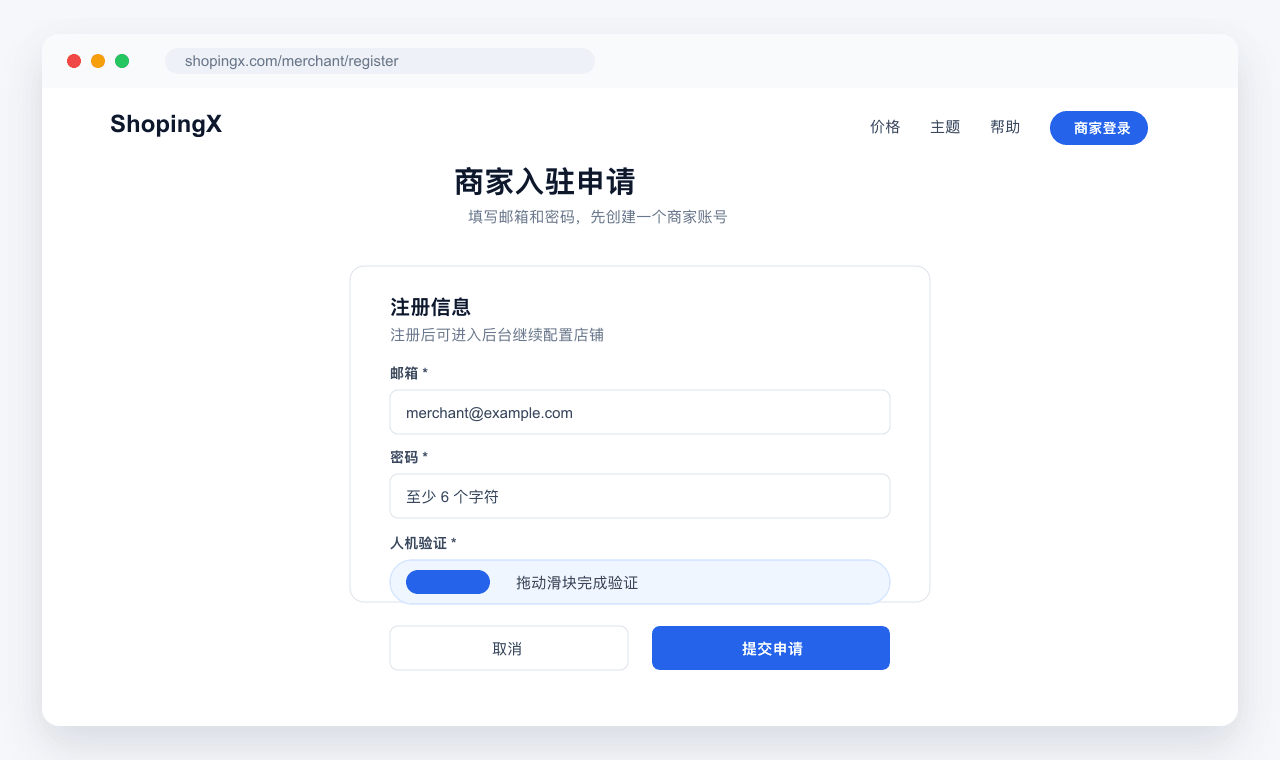
Create the merchant account through merchant registration and submit the details requested by the page. After entering the admin, confirm the current store name, store identifier, and active store. This matters when one account controls more than one store: products, themes, shipping, and payments must all be configured against the same store.
Do not import hundreds of products yet. Create one product that could genuinely be sold, with an accurate title, images, variants, price, stock, and packed shipping data. A placeholder image, nominal price, or invented weight makes the later shipping and payment results useless.
Step 2: test the catalog with one real product
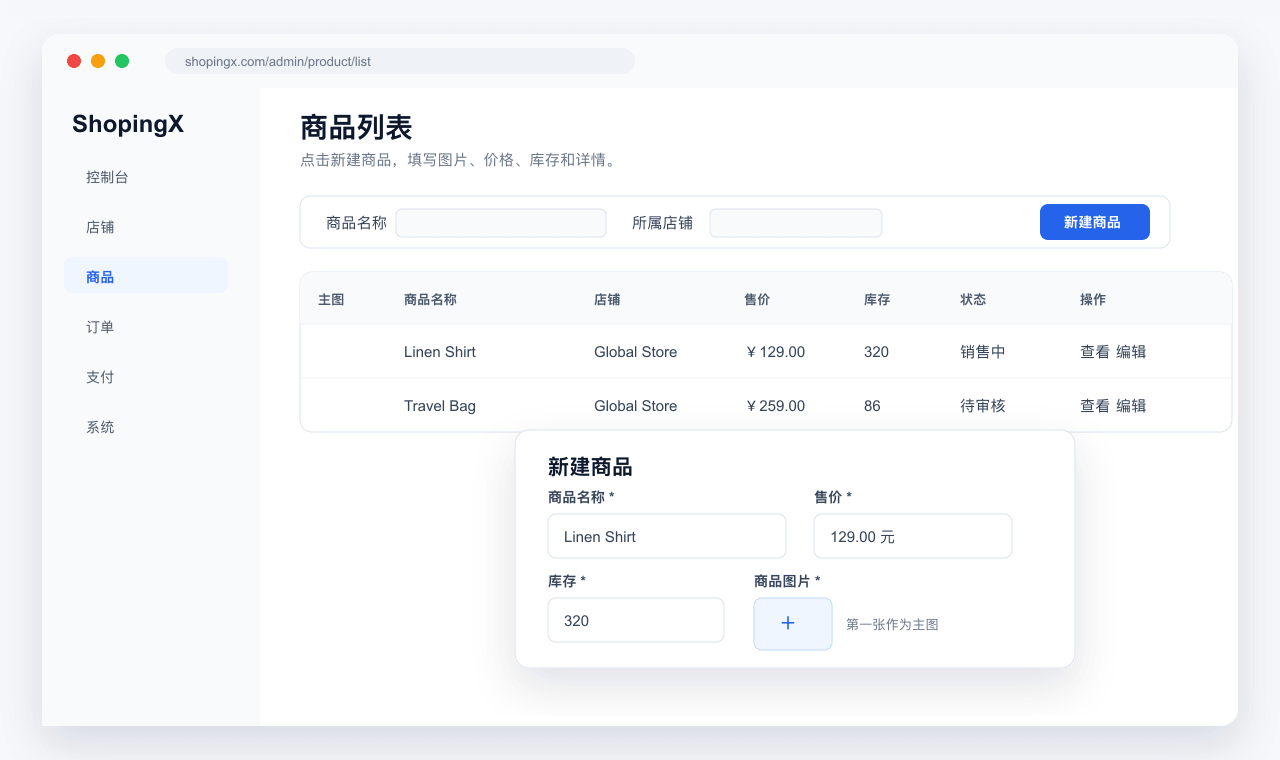
Check at least:
- The title identifies the product without a chain of unrelated search terms.
- Images use a consistent ratio and detail images match the listed variant.
- Every available SKU combination has the intended price and stock.
- Packed weight and dimensions are present.
- The product belongs to a category a buyer can understand.
- Delivery, return, and contact information is reachable before purchase.
Save the product, then open it through the live storefront path rather than relying on an admin preview. On a phone, select variants, change quantity, add the item to cart, and return to its category. The product page acceptance checklist provides edge cases for invalid variants, stock, media, and mobile layout.
A buyer should not need to know the merchant's supplier groups or warehouse labels. If the category name only makes sense internally, fix the storefront structure before adding more products.
Step 3: use the same order for shipping and payment
Configure shipping before payment. The test product's weight, volume, quantity, or price should trigger a rule with a result you can calculate in advance. Prepare carts immediately below and at any free-shipping threshold, and write down the expected shipping amount. The worked examples in the shipping-rate guide show how to test first and additional units.
Enable only the primary payment method planned for the first market. Cover success, cancellation, failure, duplicate callbacks, and refund rather than stopping after one successful redirect. The buyer result, ShopingX order, and provider transaction must identify the same amount and state. Use the six cases in the payment acceptance guide.
Many failures at this stage are data failures rather than broken provider APIs: a currency is presented inconsistently, a free-shipping threshold was miscalculated, a disabled SKU remains purchasable, or test and live credentials were mixed. Preserve the original order and timestamp when a check fails. Deleting it removes useful evidence.
Step 4: attach the domain and repeat the critical path
First confirm that the default storefront address works. Then follow ShopingX domain help to add the custom domain and DNS record. Verify HTTPS, redirect HTTP to HTTPS, and keep one preferred version of the hostname instead of serving duplicate www and non-www addresses.
A domain switch can affect payment returns, callbacks, shared URLs, and search pages. After the switch, open the homepage, category, product, cart, checkout, and order result again. Run another payment case on the final hostname. Remove the old test hostname from email templates, support replies, and campaign links.
Use the domain, DNS, and SSL test guide when a record does not resolve or a certificate remains pending. Repeatedly deleting and recreating DNS records before the previous change has propagated usually makes diagnosis harder.
Step 5: test as both buyer and operator
The buyer pass should cover:
- A first-time mobile visitor can reach the target product through a small number of clear navigation choices.
- Variant, stock, price, shipping, and discount information remains consistent from product page to checkout.
- Success, cancellation, and failure states tell the buyer what to do next.
- Order detail, delivery information, and a working support route are available.
- Storefront, checkout, and notices use the same primary language.
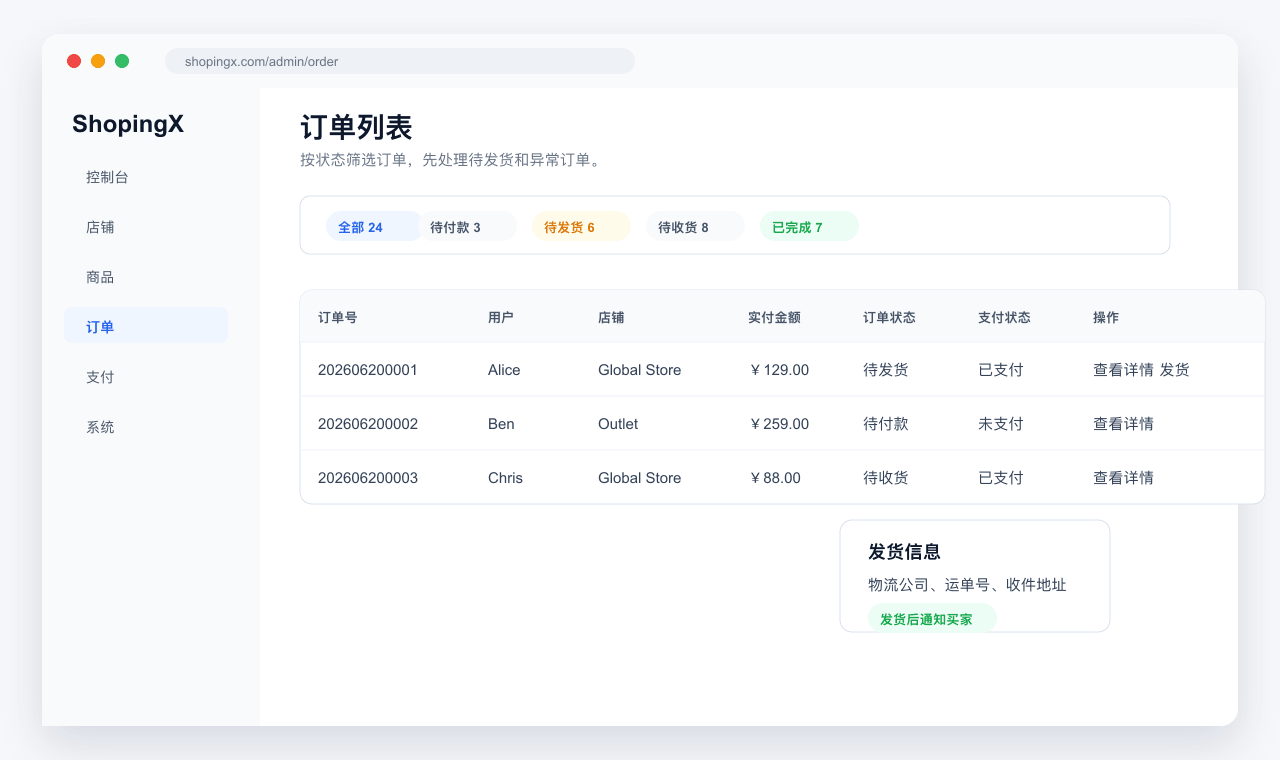
The operator pass checks that the order can be found in the merchant admin, payment state is correct, stock changes as expected, the delivery address is complete, and shipment and refund actions are available.
Record every defect as environment, product or order, steps, expected result, and actual result. "Mobile does not work" cannot be reproduced. "On iPhone Safari, product A changes to blue size M, but checkout still shows black size S" gives operations or engineering a usable starting point.
Freeze broad changes on release day
On release day, stop broad theme, category, and product-data changes. Run a small smoke test: homepage available, target product purchasable, shipping correct, primary payment available, new order visible in the admin, and support route staffed. Pause traffic if any item fails.
During the first week, review failed payments, stock exceptions, invalid addresses, refunds, and repeated support questions each day. Traffic volume is not the first acceptance metric. A stable order path is what justifies adding paid acquisition or another market.
Starting with one product is deliberate. It does not make the store look large, but it exposes the failures that block revenue. The launch is ready when the first test order agrees from the buyer screen through the merchant admin and payment provider.