Products and conversion
How to build and test an ecommerce product page
Turn verified product data into a useful ecommerce product page, then test images, variants, inventory, shipping, metadata, and checkout before launch.
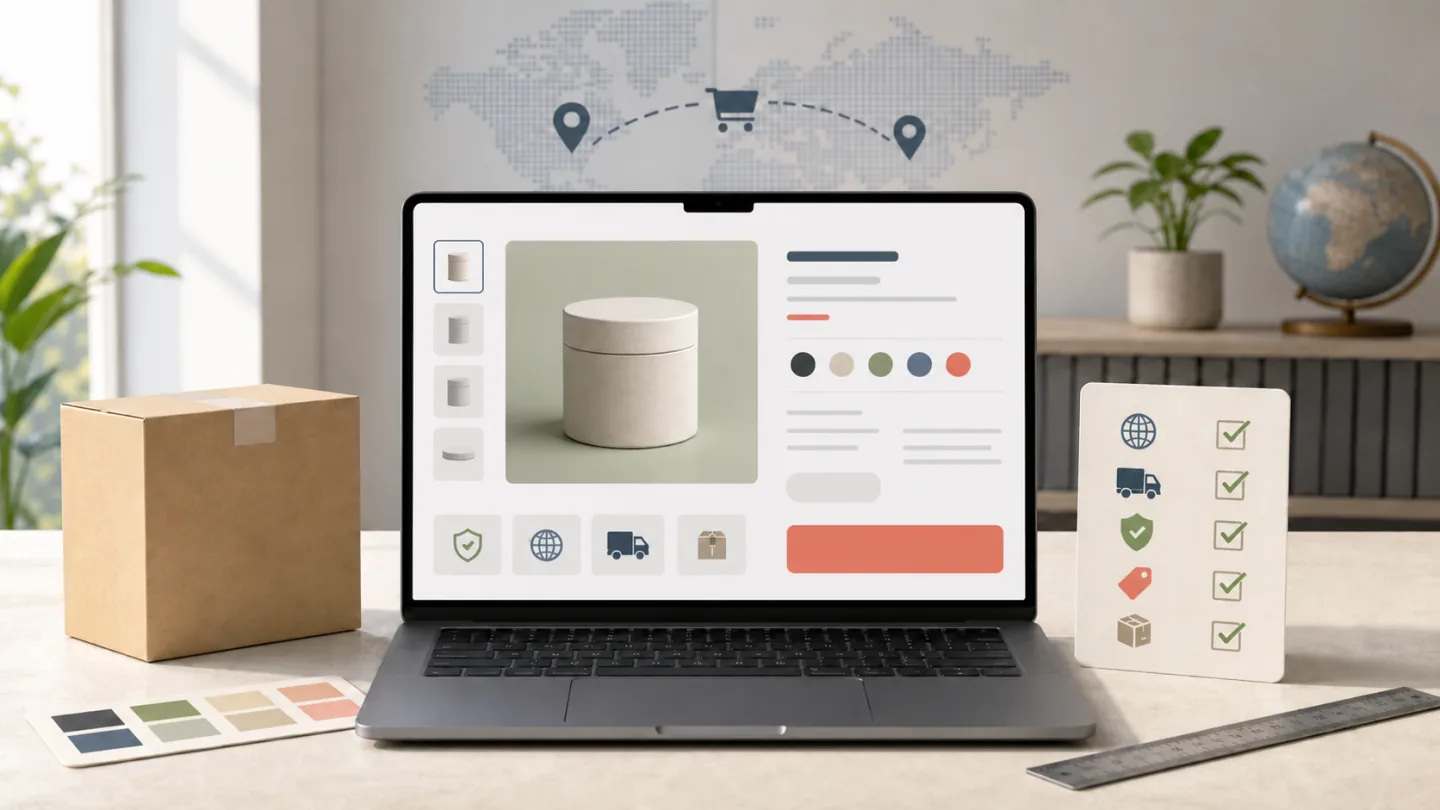
An ecommerce product page has a practical job. It should help a buyer confirm what the product is, choose the right variant, understand the price, and move into checkout without guessing. A polished layout cannot compensate for a color image that points to the wrong SKU, vague stock information, or a shipping charge that appears only at the last step.
That is why product page optimization often starts in the wrong place. Theme changes and animation are visible immediately. Verifying product facts takes longer. Complete the information first, then decide how the page should present it.
List the facts a buyer needs before ordering
Choose one real product that the store is ready to sell. Do not begin by pasting a supplier's long description. List the questions a buyer must settle before placing an order: what the item is, who it is for, its material or dimensions, what the package contains, which colors or sizes are available, when it can ship, and which delivery or return conditions apply.
Build this list from the physical item, its packaging, and the actual fulfillment policy. Apparel needs a measurement method and a clear note about sizing tolerance. Electronics need connector, voltage, and compatibility information. A bundle needs an exact package list. Verify any uncertain specification instead of filling the gap with broad claims such as "premium quality" or "suitable for every occasion."
Competitor documentation is useful as an omission check, not as a page template to copy. Shopify's product page guide discusses product imagery, descriptions, and purchase actions as common page elements. The Shoplazza product management guide treats the title, subtitle, description, media, and variants as separate product inputs. SHOPLINE's product details page guide separates the product album, product information, navigation, and recommendation areas in its app editor. These sources identify questions a product page may need to answer. They do not describe ShopingX fields or promise an equivalent editor.
Complete the product record in ShopingX
Follow the ShopingX merchant setup guide to open the product list and create a product. The current ShopingX product form supports a name, subtitle, keywords, product images, video, price, stock, packed dimensions, a freight template, and rich detail content. A multi-variant product can store a separate price, stock quantity, SKU code, image, weight, and dimensions for each SKU. Stores with multiple markets can also maintain translated names, subtitles, details, and option values.
Use a deliberate order when entering the data:
- Write a name that identifies the product type, defining feature, and model when the model affects selection. Use the subtitle for one additional decision fact rather than a repetition of the name.
- Upload photographs of the item that will be shipped. The first image becomes the main image. Use later images for other angles, close details, scale, and package contents.
- Create options such as color and size, then inspect the price, stock, code, and image for every SKU. If a combination is not sold, it should not look selectable.
- Enter packed weight and dimensions and assign the correct freight template. Use the cross-border shipping rate guide to verify the rate separately.
- Add the long description and market translations last. Preserve model numbers, units, warnings, and limitations in every localized version.
The current ShopingX form can arrange up to ten product images. Ten is a limit, not a target. One useful scale image can answer more questions than five nearly identical lifestyle shots.
Make images, variants, and prices agree
The common image problem is not a lack of polish. It is a lack of evidence. The main image should make the item recognizable. Detail images can show material, connectors, or construction. A scale image should help the buyer judge size. A package image should show what arrives. If a pictured accessory is not included, say so beside the image or in the detail content.
Google's image SEO guidance recommends standard HTML image elements and asks site owners to balance image quality, speed, and the context of the landing page. For a merchant, the useful actions are straightforward: keep a clear source image, compress the web asset, use an accurate filename, and place specific explanatory text near the image. Do not put essential dimensions only inside an image. That information becomes difficult to read on a small screen and difficult to translate or access with assistive technology.
Test a multi-variant product from the buyer's side. Does the image change when a different color is chosen? Do price and stock change with the selected size? Can an unavailable combination still enter the cart? Every SKU row in the admin can become a wrong purchase on the storefront, so checking only the default selection is not enough.
Give the first screen and long description different jobs
The first screen supports selection. The name, subtitle, price, options, stock state, and purchase action should make sense together. The long description provides evidence and boundaries: material, dimensions, usage limits, package contents, fulfillment, and after-sales terms. Repeating the same marketing sentence in three sections does not add information.
The current ShopingX storefront builds the page title from the product and store names and uses the product subtitle for the meta description. It also emits a canonical URL. Product and breadcrumb structured data are generated from fields such as the product name, images, price, currency, availability, and store.
Google's Product structured data documentation explains that eligible markup may support a product snippet with information such as price, availability, ratings, or reviews. It does not guarantee a rich result. Structured data also cannot repair an incorrect product record. Before publishing, confirm that visible price and availability agree with the page markup, the main image loads, and the subtitle can describe the product on its own. The keyword field is not a place for unrelated search phrases.
Run a real variant through checkout
Do not send paid traffic as soon as the form saves. Test the published product on a phone and a desktop. Open the canonical product URL, switch every option, enlarge the images, change the quantity, add the item to the cart, and continue into checkout.
Cover normal stock, the final available unit, an out-of-stock option, variants with different prices, and products assigned to different freight templates. Check the sharing preview, page title, meta description, image loading, and the path back to the catalog. When something fails, record the product, SKU, device, and exact step instead of writing "the product page is broken."
The pre-launch operations checklist extends this test into order handling and customer support. The new-store SEO guide covers crawlability, titles, and sitemap basics.
A product page needs maintenance after launch. A change to price, packaging, inventory, or after-sales terms should trigger a page update. When one real product is ready, review the available ShopingX themes, create a merchant account, and test product entry and checkout as one connected path.