Merchant setup guide
This follows the order most new merchants actually use: register, upload products, connect a domain, set up payment, handle orders, then add staff accounts. Each step includes the admin path and links so you can jump straight in.
Create a merchant account first
Registration only needs an email, a password, and the slider check. After that, log in to the admin panel and finish your store setup.
Recommended order
Register a merchant account
Start on the merchant registration page. Use an email your team can keep long term, because password resets and order notices may go there later. Complete the slider check, submit the form, then log in to the merchant admin panel.
Admin path: Official site > Merchant registration
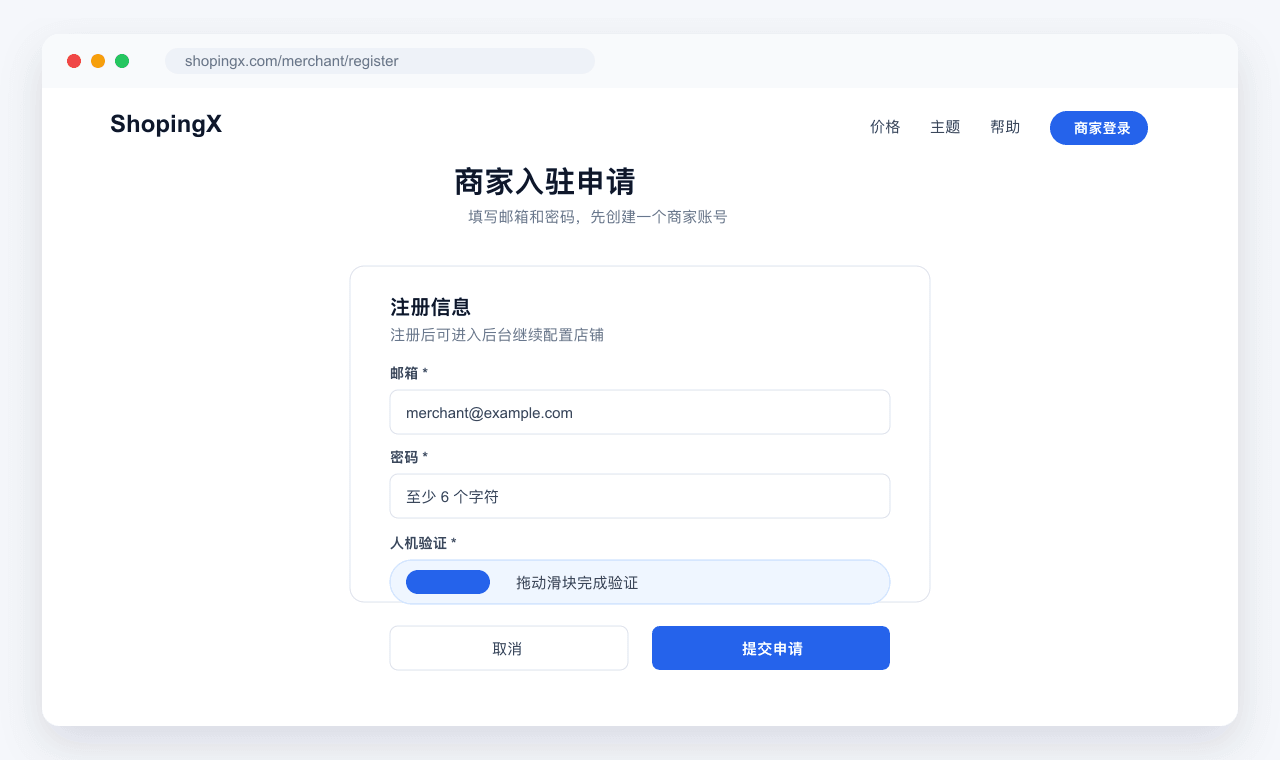
Merchant registration: enter email and password, then finish the slider check.
What to do
- Use a real team email, not a temporary inbox
- Set a password of at least 6 characters
- Finish the slider check before submitting
Upload products
Open the product list and click "New Product". Choose the store first, then fill in the product name, images, price, and stock. For multi-variant products, check every SKU price and stock before publishing. Keep the detail page clear: material, size, shipping range, and after-sales notes matter more than fancy copy.
Admin path: Admin > Products > Product List
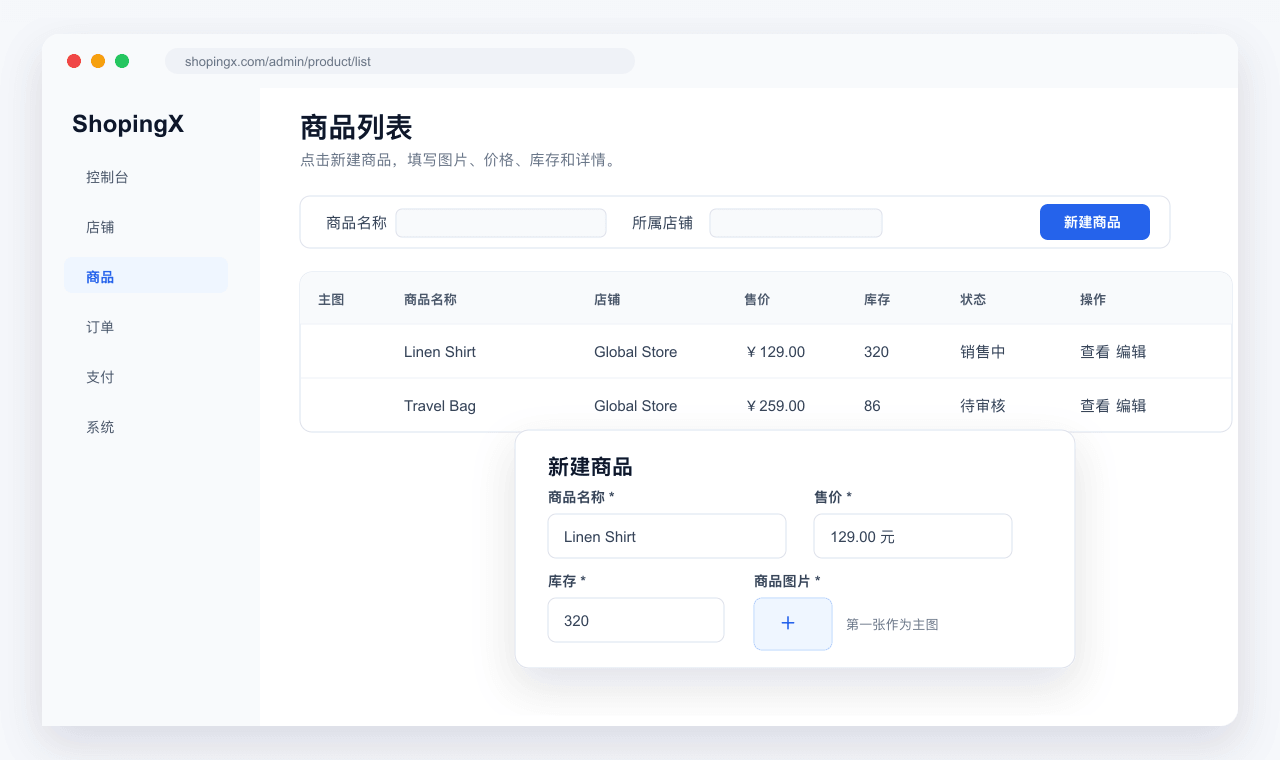
Product list: click "New Product" and fill in images, pricing, and stock.
What to do
- Product name, main image, price, and stock are required
- The first product image becomes the main image
- Check every SKU when using variants
- Choose a freight template if shipping rules apply
Configure your domain
Domain settings live inside store editing. First make sure the store subdomain opens. Then add your custom domain. The usual setup is a www subdomain with a CNAME pointing to the store subdomain; the root domain can redirect to www. DNS takes time, so avoid changing it repeatedly right after saving.
Admin path: Admin > Store > Store List > Edit Store > Custom Domain
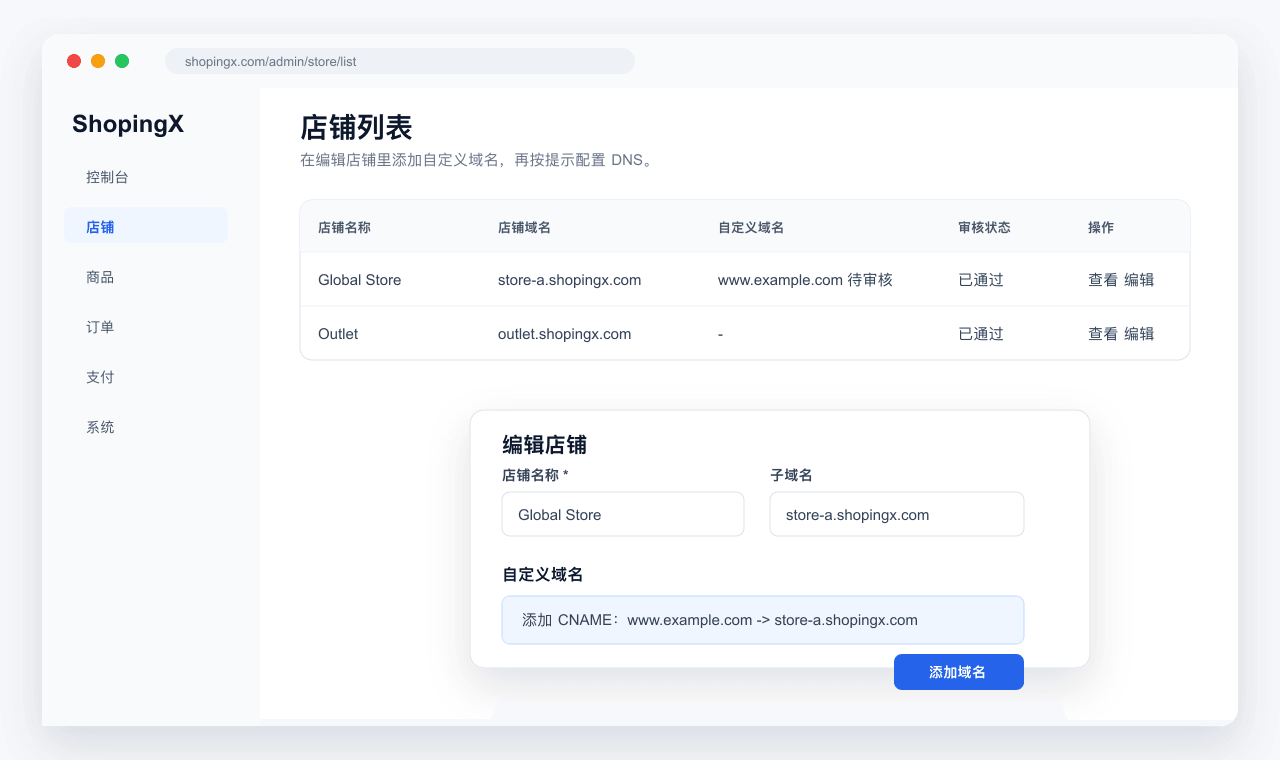
Store editing: add a custom domain and follow the DNS hint.
What to do
- Check that the store subdomain works first
- Add the CNAME record at your domain provider
- Submit the custom domain in the admin panel
- After it is enabled, check HTTPS
Configure Payment
Do not leave payment testing until the day before launch. Start with one provider you know you can use, such as Stripe, PayPal, WeChat Pay, or Adapay. Fill in the platform code, keys, callback URL, and channels. Then run a small test order and confirm the callback updates the order.
Admin path: Admin > Payment > Payment Platform
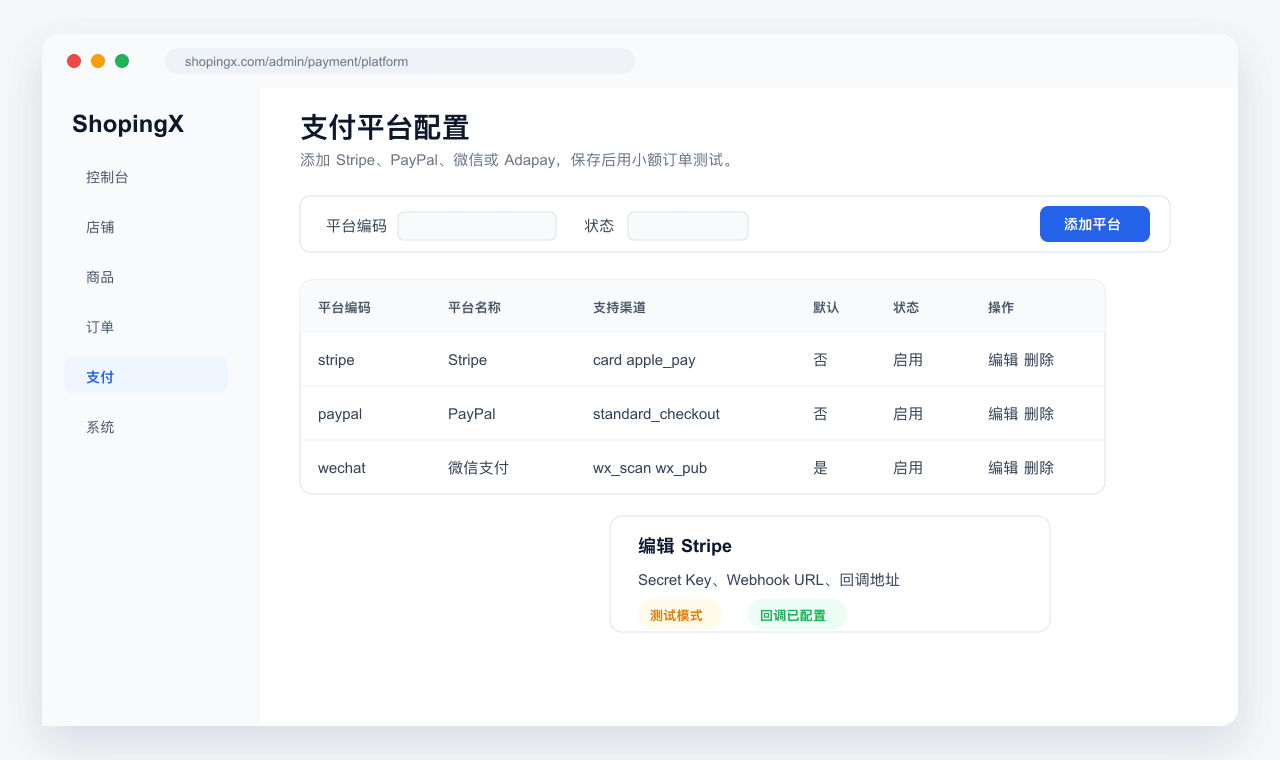
Payment platform: add or edit a payment provider, then test with a small order.
What to do
- Make sure the payment account has passed verification
- Enter keys, certificates, and webhook URLs carefully
- Test first, then switch to production
- Avoid enabling several untested channels for the same store
Manage orders
After payment works, place a test order and walk through ordering, payment, shipment, and receipt. The order page groups orders by status. Handle pending shipment first, then look at exceptions. When shipping, enter the carrier and tracking number. If a buyer says they paid but the order did not update, check payment status before anything else.
Admin path: Admin > Orders
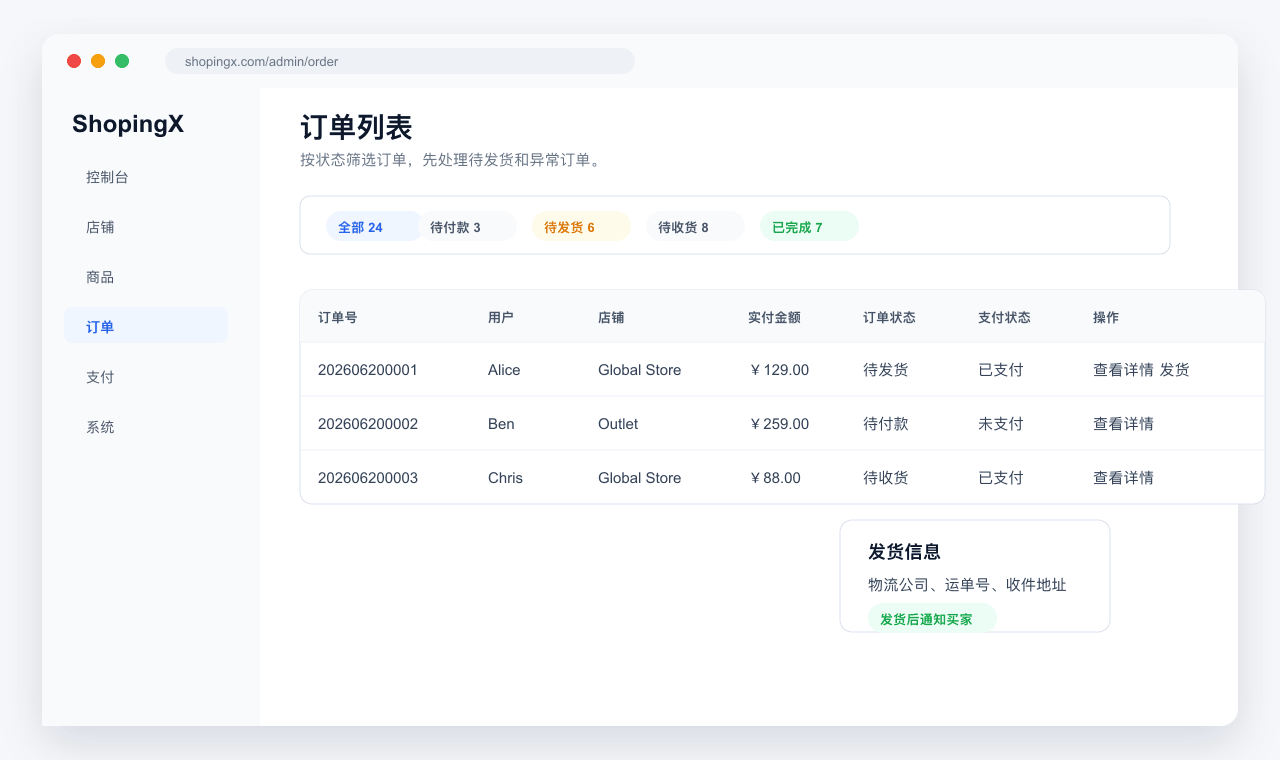
Order list: filter by status, view details, and handle shipment.
What to do
- Check pending payment and pending shipment every day
- Verify recipient, phone, and address before shipping
- Enter carrier and tracking number before notifying the buyer
- Keep screenshots for abnormal orders
Add staff accounts
Do not let everyone share one administrator account. Give operations, support, and warehouse staff their own logins, then use roles to control menus and button actions. When someone leaves or changes jobs, disable the account first and adjust roles after that.
Admin path: Admin > System > Administrators
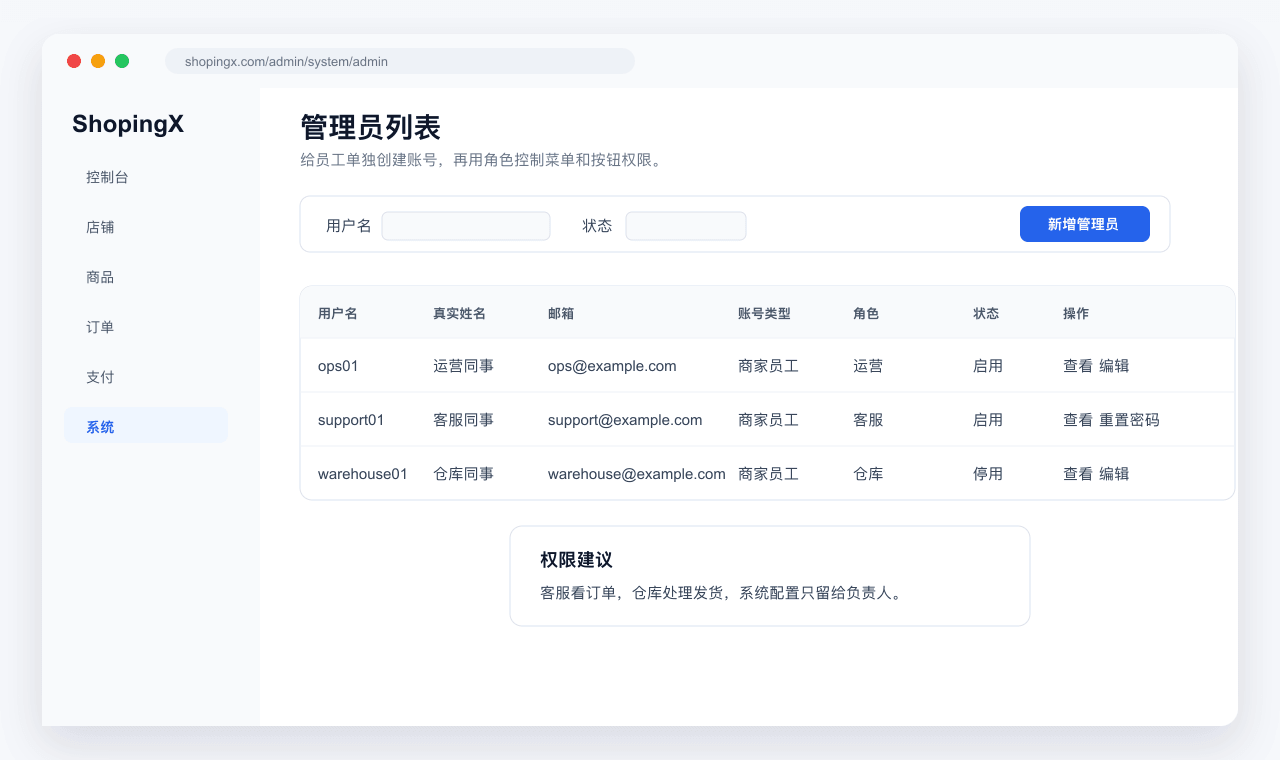
Administrators: add staff accounts, assign roles, and keep permissions tidy.
What to do
- Create one account per staff member
- Use roles to control menus and actions
- Support accounts usually do not need payment or system settings
- Disable or reset accounts when staff changes
Before launch
- Use one test product and one small order to check the full flow
- Domain and payment setup may need review time or DNS propagation
- After changing products, orders, or payment, test in a real browser
- When asking support for help, include screenshots, order numbers, and the error text